Overview
First, before we begin, we will do a quick reminder of what React Native, Expo, and TypeScript are.
React Native: a framework for creating native applications using React. React Native makes it possible to build mobile applications using only JavaScript.
Expo: a free and open-source set of tools developed around React Native that saves time when developing iOS and Android applications.
TypeScript: an open-source language published by Microsoft that provides a superset of JavaScript with additional features such as static and generic typing, abstract classes, and enumerations.
Installing Expo and Creating a New Project
Before installing Expo, we need Node, which you can install by clicking here.
Next, we need expo-cli. It will let us create our project later.
npm install expo-cli --globalBefore creating the project, I recommend logging in to your Expo account, or creating one before moving on.
expo register # create an account
expo login  # log in
Now we can create our project:
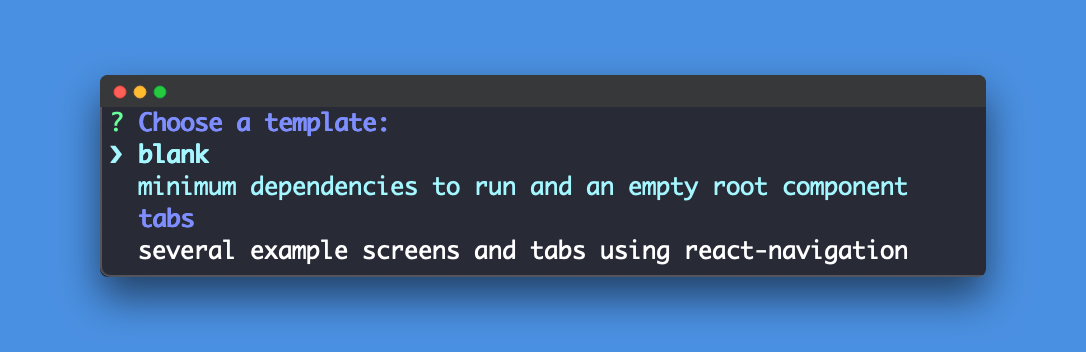
expo init first-expo-projectAfter the command runs, you will be asked which type of template you want to use:
blank: an empty template with only the dependencies required to run your application.
tab: a template that includes React Navigation with tabs and example screens.
For our example, choose the blank template.
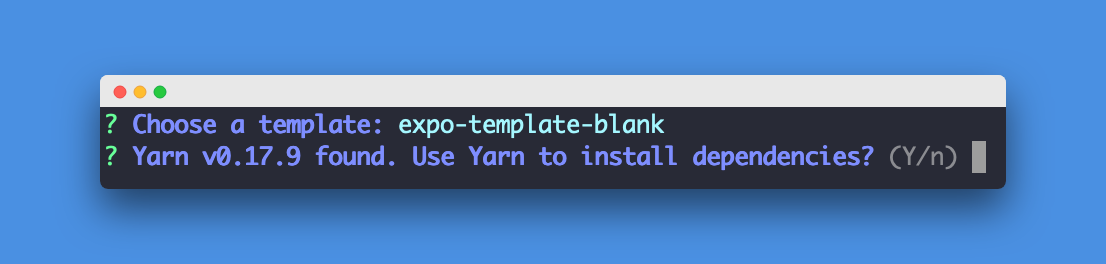
Then, if you use Yarn, you will be asked whether you want to use it to install the dependencies. Make your choice based on your preferences.
Once the project is created, move into its folder and start the application:
cd first-expo-project
expo start
After your application starts, you should see something similar to this:
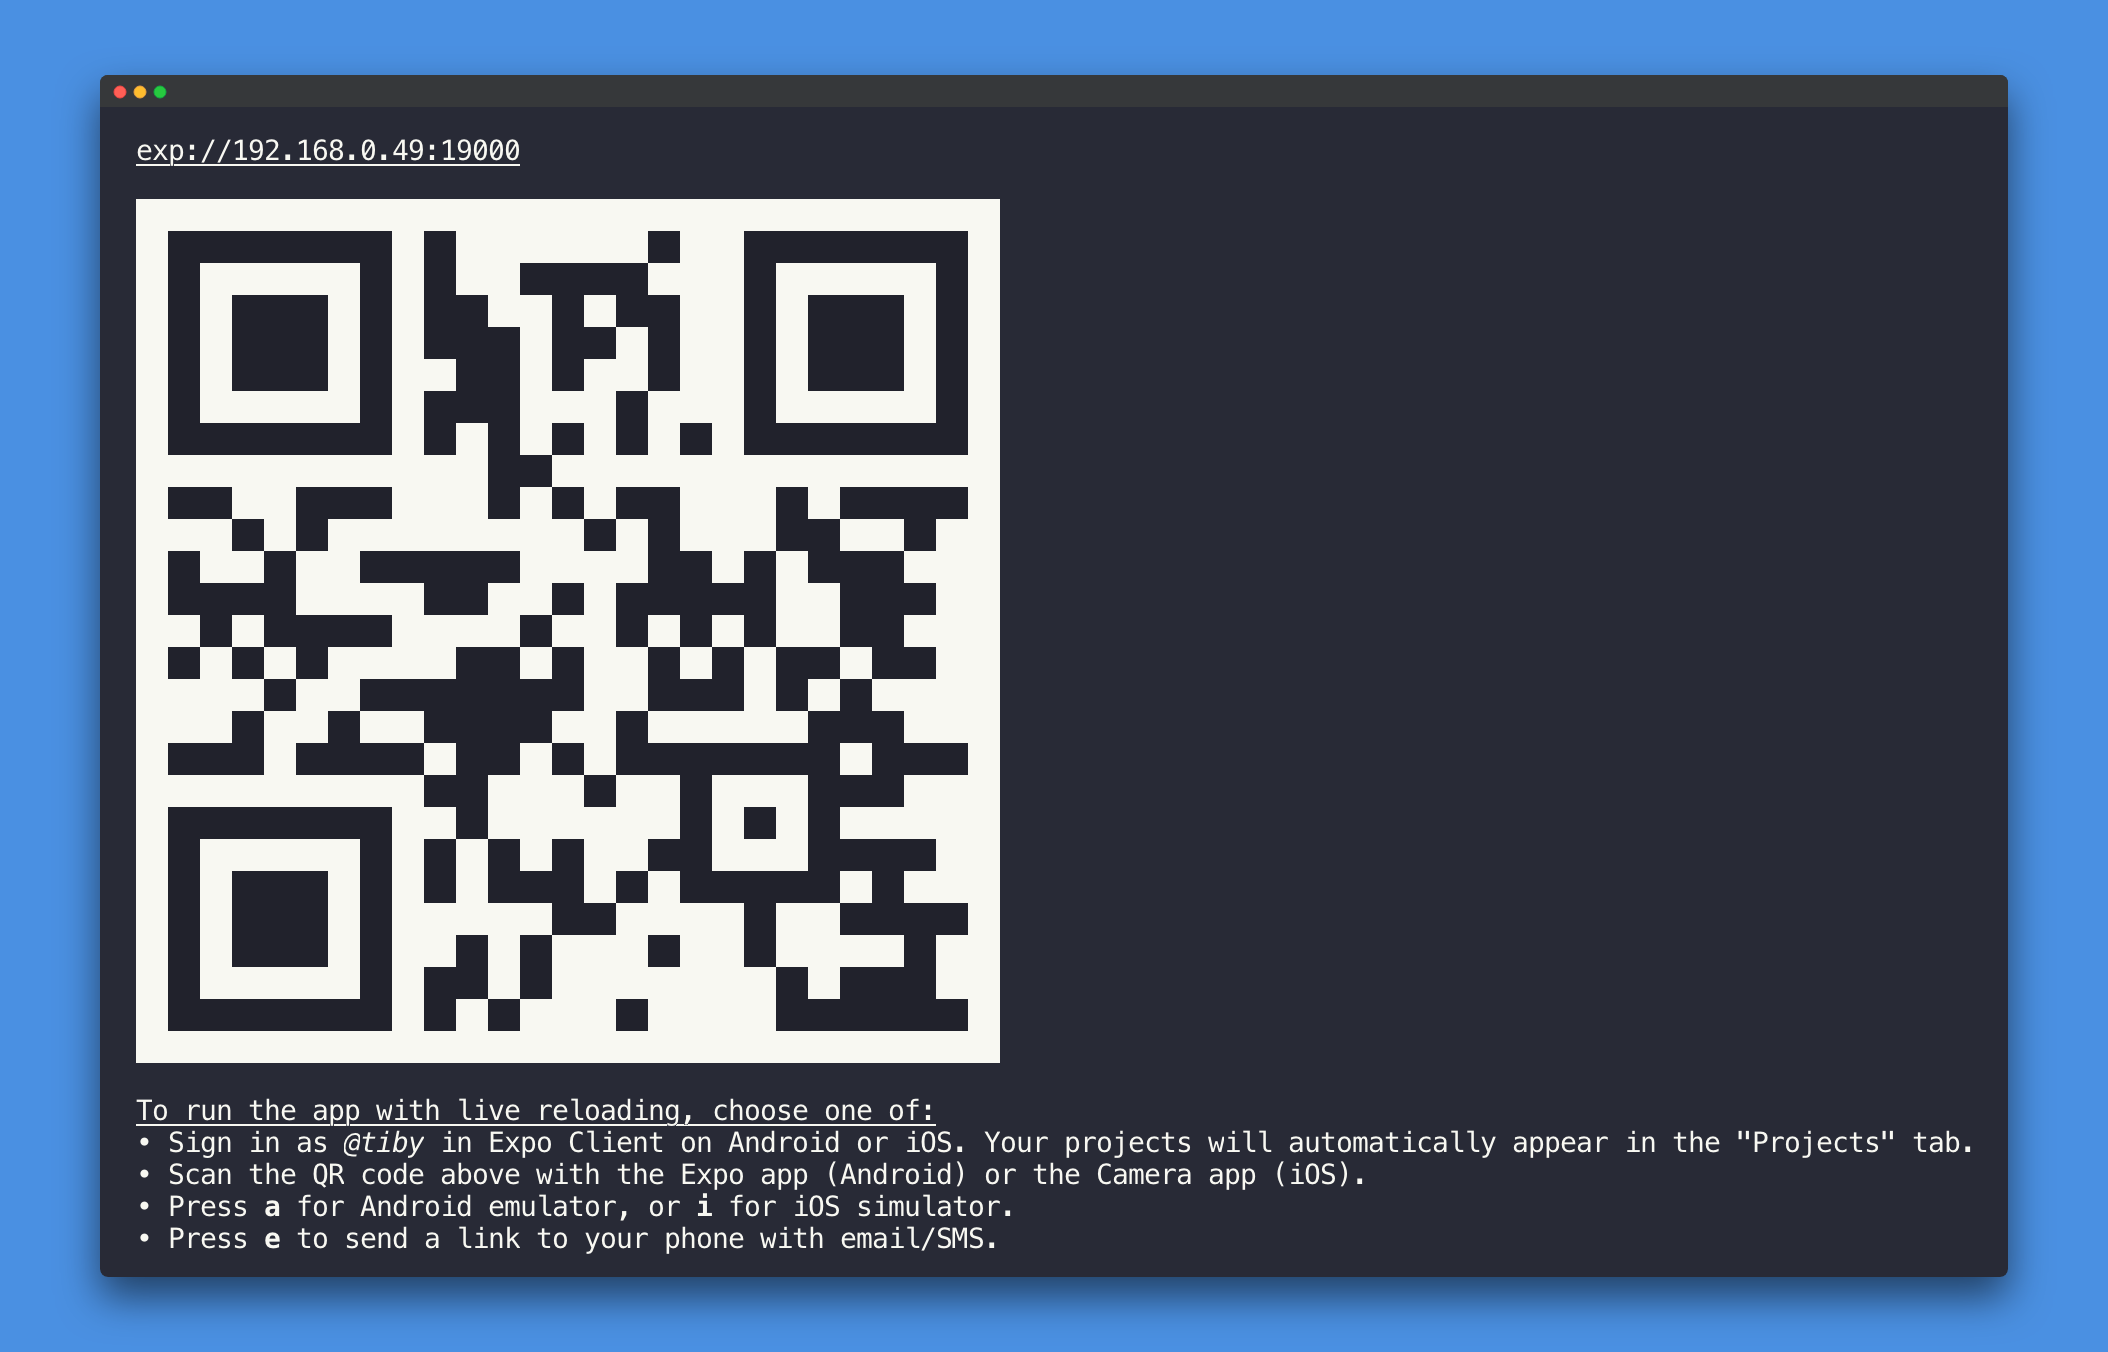
At this point, you have several options for running your application.
The first option is directly on your mobile device. To do that, install the Expo client on it:
Once the client is installed, log in with your Expo account and scan the QR code directly from the Expo client on Android. On iOS, scan it either with the Camera app (iOS 11 or later) or with an app that can read QR codes.
Alternatives:
- Normally, if you are logged in to your account on your computer, your application should be listed when you open the Expo client.
- You can also send a link to open the application by SMS from your terminal by pressing
e. - The last alternative is to install an Android or iOS simulator, then start your application with the
expo start --androidorexpo start --ioscommands.
Configuration
Now that our application has been created and launches correctly, we can configure it to use TypeScript and ESLint.
Configuring TypeScript
The first thing to do is add TypeScript to our project:
yarn add typescript --devThen we will add the TypeScript type definitions for Expo, React, and React Native:
yarn add @types/expo @types/react @types/react-dom @types/react-native --devNext, add a tsconfig.json file for the TypeScript configuration:
{
  "compilerOptions": {
    /* Basic Options */
    "target": "es2017" /* Specify ECMAScript target version: 'ES3' (default), 'ES5', 'ES2015', 'ES2016', 'ES2017','ES2018' or 'ESNEXT'. */,
    "lib": ["es6"],
    "jsx": "react-native" /* Specify JSX code generation: 'preserve', 'react-native', or 'react'. */,
    "noEmit": true /* Do not emit outputs. */,

    /* Strict Type-Checking Options */
    "strict": true /* Enable all strict type-checking options. */,
    "noImplicitAny": true /* Raise error on expressions and declarations with an implied 'any' type. */,
    "strictNullChecks": true /* Enable strict null checks. */,
    "strictFunctionTypes": true /* Enable strict checking of function types. */,
    "strictPropertyInitialization": true /* Enable strict checking of property initialization in classes. */,
    "noImplicitThis": true /* Raise error on 'this' expressions with an implied 'any' type. */,
    "alwaysStrict": true /* Parse in strict mode and emit "use strict" for each source file. */,

    /* Additional Checks */
    "noUnusedLocals": true /* Report errors on unused locals. */,
    "noUnusedParameters": true /* Report errors on unused parameters. */,
    "noImplicitReturns": true /* Report error when not all code paths in function return a value. */,
    "noFallthroughCasesInSwitch": true /* Report errors for fallthrough cases in switch statement. */,
    "forceConsistentCasingInFileNames": true,

    /* Module Resolution Options */
    "moduleResolution": "node" /* A series of entries which re-map imports to lookup locations relative to the 'baseUrl'. */ /* Specify module resolution strategy: 'node' (Node.js) or 'classic' (TypeScript pre-1.6). */,
    "allowSyntheticDefaultImports": true /* Allow default imports from modules with no default export. This does not affect code emit, just typechecking. */,
    "types": ["react", "react-native"]
  },
  "include": ["App.tsx", "src"]
}
Finally, to finish, rename App.js to App.tsx, add a src folder that will contain our application code, and add a test component.
mv App.js App.tsx
mkdir src && cd src
mkdir components && cd components
touch HelloText.tsx
In the HelloText.tsx file, add the following code:
import React from 'react'
import { Text } from 'react-native'

interface Props {
  text: string;
  color: string;
}

export default ({ text, color }: Props) => <Text style={{ color }}>{text}</Text>
Then modify the App.tsx file as shown below:
import React from 'react'
import { StyleSheet, View } from 'react-native'
import HelloText from './src/components/HelloText'

export default class App extends React.Component {
  render() {
    return (
      <View style={styles.container}>
        <HelloText text="Open up App.js to start working on your app!" color="#000" />
      </View>
    )
  }
}

const styles = StyleSheet.create({
  container: {
    flex: 1,
    backgroundColor: '#fff',
    alignItems: 'center',
    justifyContent: 'center',
  },
})
To understand the value of TypeScript, remove the color property from the HelloText component. You should see an error appear like the one below:
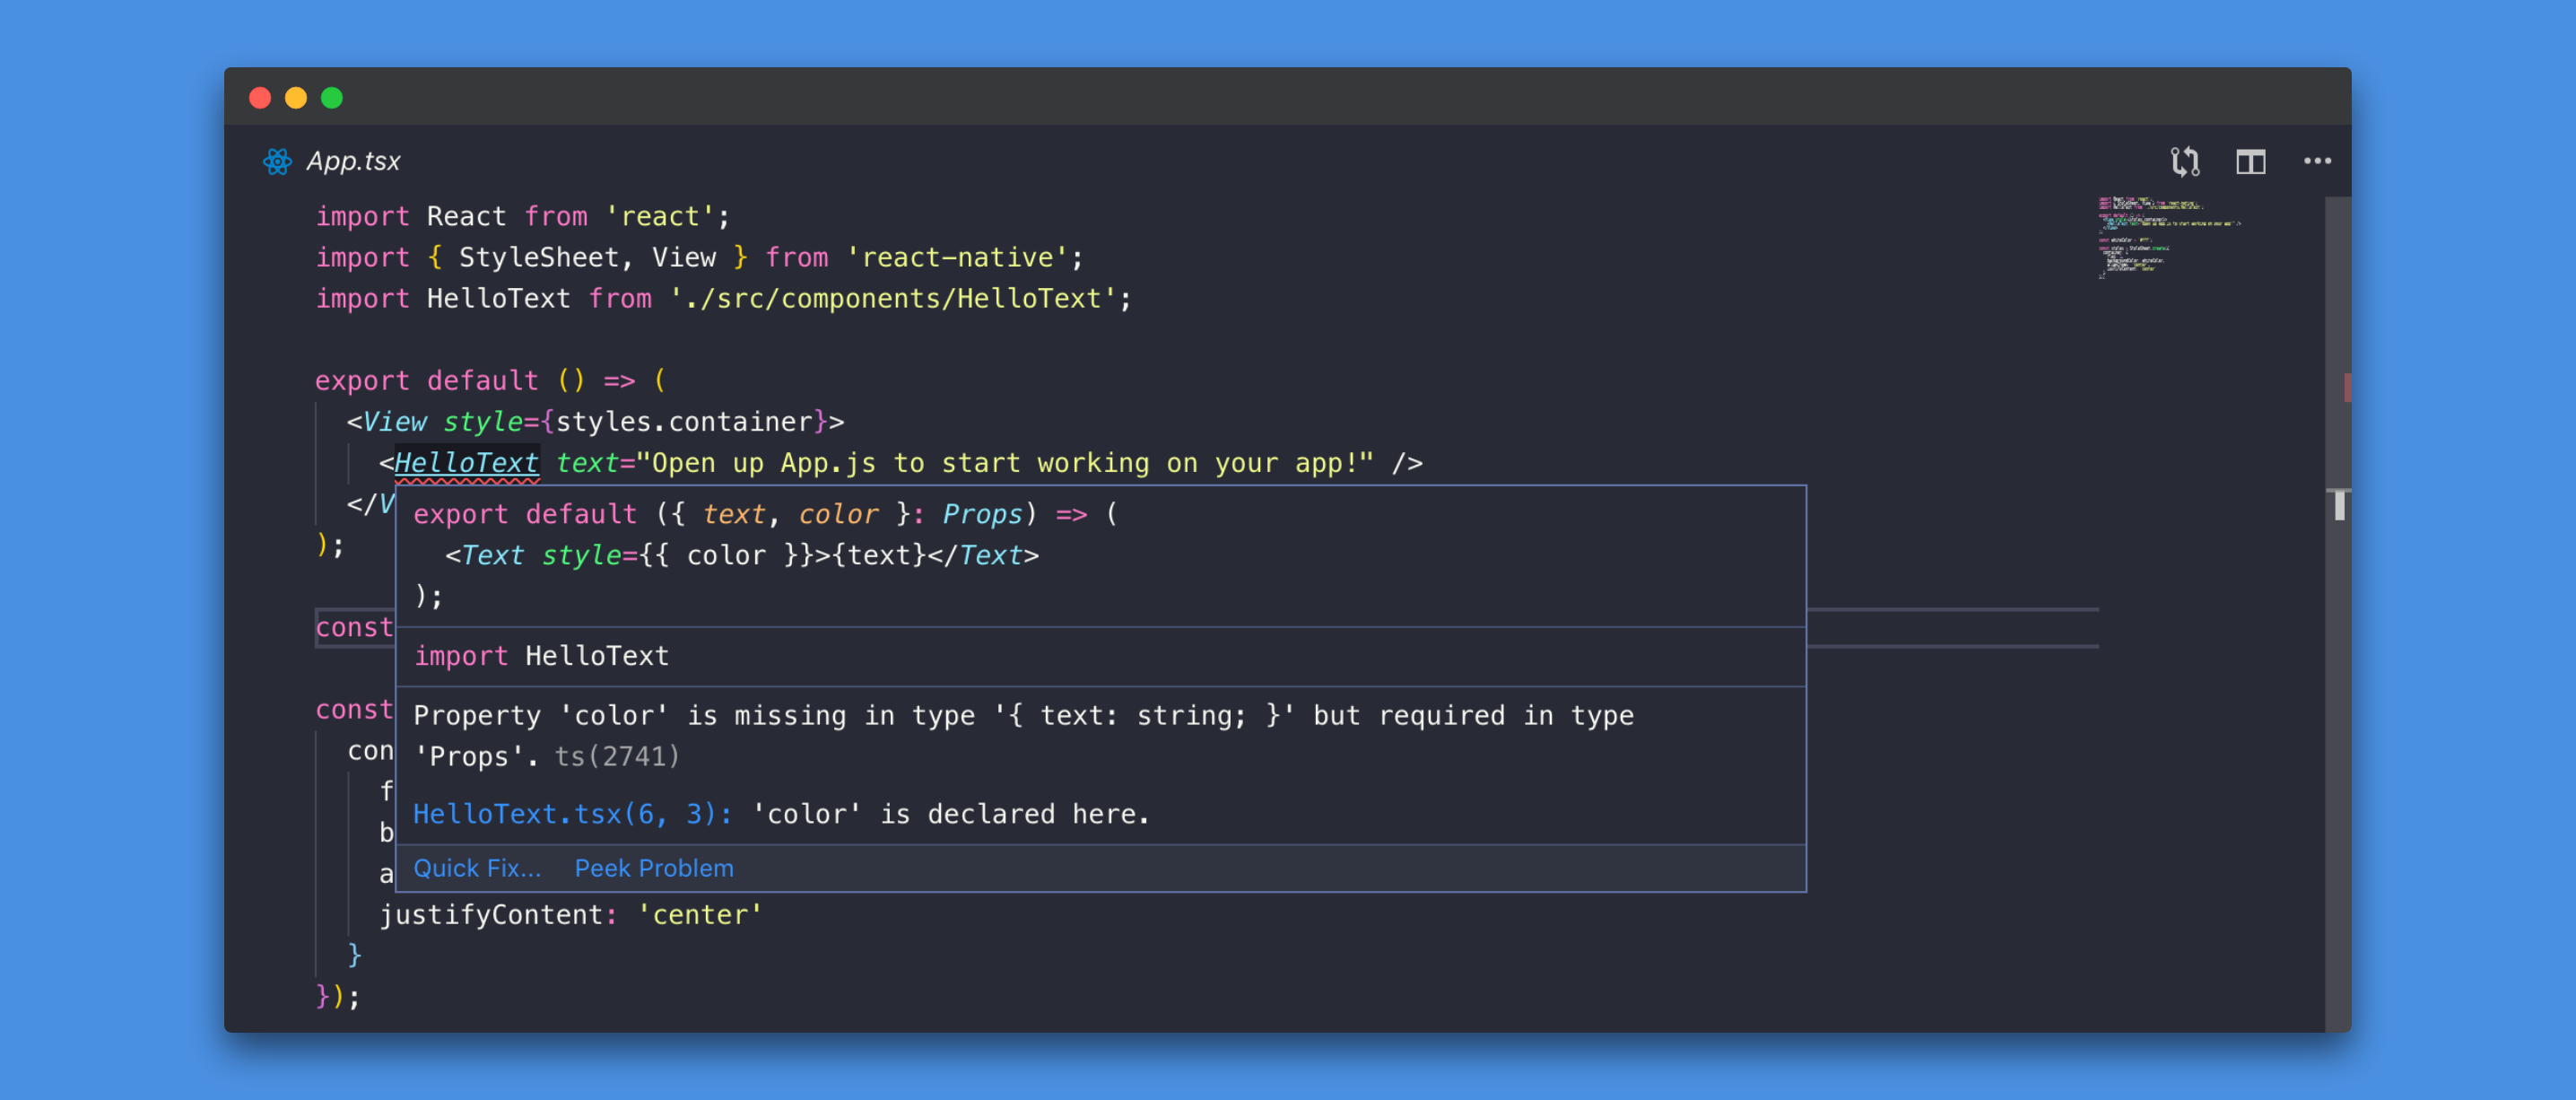
Here, TypeScript reminds us that we declared and made the color property of our HelloText component required through the Props interface:
interface Props {
  text: string;
  color: string;
}
export default ({ text, color }: Props) => (
  ...
But because we do not add it to the component, TypeScript shows us an error.
Configuring ESLint and Prettier
To finish this article, we will add ESLint and Prettier. ESLint is a linter that will let us, among other things, define rules for the application's code and then display errors when those rules are not respected.
Prettier is a code formatter. When some rules are not respected, it formats the code so it follows the rules.
For the different ESLint rules, we will use the eslint-config-airbnb package, which provides a number of prebuilt rules and saves us time. If you want, you can define all of your rules yourself and skip this package.
Start by installing ESLint, Prettier, and the packages required to make everything work with TypeScript:
yarn add eslint @typescript-eslint/eslint-plugin @typescript-eslint/parser prettier eslint-plugin-prettier eslint-config-prettier --devThen add the eslint-config-airbnb package and the other packages it needs to work. We also add eslint-plugin-react-native, which provides rules for React Native.
yarn add eslint-config-airbnb eslint-plugin-import eslint-plugin-jsx-a11y eslint-plugin-react eslint-plugin-react-native --devNow that all the required packages are installed, we can add our ESLint configuration file. At the project root, add a .eslintrc.js file with the following content:
module.exports = {
  parser: '@typescript-eslint/parser', // Specifies the ESLint parser
  plugins: ['@typescript-eslint', 'react-native', 'prettier'],
  parserOptions: {
    sourceType: 'module',
  },
  extends: [
    'airbnb',
    'plugin:@typescript-eslint/recommended',
    'prettier/@typescript-eslint', // Uses eslint-config-prettier to disable ESLint rules from @typescript-eslint/eslint-plugin that would conflict with prettier
    'plugin:prettier/recommended', // Enables eslint-plugin-prettier and displays prettier errors as ESLint errors.
    'prettier/react',
    'prettier/@typescript-eslint',
  ],
  settings: {
    'import/resolver': {
      node: {
        extensions: ['.ts', '.tsx'],
      },
    },
  },
  rules: {
    'no-use-before-define': ['error', { variables: false }],
    'no-unused-vars': 2,
    '@typescript-eslint/no-unused-vars': 2,
    '@typescript-eslint/no-use-before-define': ['error', { variables: false }],
    '@typescript-eslint/explicit-member-accessibility': 'off',
    'react/jsx-filename-extension': ['error', { extensions: ['.tsx'] }],
    'react-native/no-unused-styles': 2,
    'react-native/split-platform-components': 2,
    'react-native/no-inline-styles': 0,
    'react-native/no-color-literals': 2,
    'react-native/no-raw-text': 0,
    'prettier/prettier': 2,
  },
}
Next, add the Prettier configuration file .prettierrc.js, still at the root:
module.exports = {
  semi: true,
  trailingComma: 'none',
  singleQuote: false,
  printWidth: 80,
  tabWidth: 2,
}
Before we can check that ESLint and Prettier work correctly, we need to add two commands after the existing ones in package.json:
scripts:{
  ...
  "lint": "eslint src/**/*.tsx App.tsx",
  "fix": "eslint src/**/*.tsx App.tsx --fix"
}
The lint command runs ESLint and returns the existing errors. It also tells us which ones are automatically fixable with the fix command; the others will need to be changed manually.
To check that ESLint works correctly, run yarn lint or npm run lint, and you should see a number of errors appear. Fix some of them with yarn fix or npm run fix. After the fix command runs, it will return the remaining errors that must be fixed by hand.
Finally, if you use VS Code (this works with other IDEs too, but I do not use them, so I do not know their configurations), you can install the Prettier and ESLint extensions, then add this configuration in VS Code's settings.json file so error fixing and formatting happen automatically when you save your files.
"eslint.autoFixOnSave": true,
"eslint.validate": [
  {
    "language": "javascript",
    "autoFix": true
  },
  {
    "language": "javascriptreact",
    "autoFix": true
  },
  {
    "language": "typescript",
    "autoFix": true
  },
  {
    "language": "typescriptreact",
    "autoFix": true
  }
],
"editor.formatOnSave": true,
"[javascript]": {
  "editor.formatOnSave": false
},
"[javascriptreact]": {
  "editor.formatOnSave": false
},
"[typescript]": {
  "editor.formatOnSave": false
},
"[typescriptreact]": {
  "editor.formatOnSave": false
},
That is the end of configuring a new React Native project with Expo, TypeScript, and ESLint.