Like most people (myself included 😎), when you decide to measure your site's traffic, you naturally turn to our friend Google with Google Analytics.
However, if you want to keep control over this data, you can choose a self-hosted open-source solution such as Matomo. Matomo is a very complete tool, but if you only want to track a few metrics (page views, number of visitors, and so on) and want something simpler, you should try Fathom.
What is Fathom?
Fathom Analytics is a tool that provides simple, useful statistics for your websites without tracking or storing your users' personal data. You can install Fathom on your own server for free, or pay to use the hosted version.
Here is the Fathom dashboard:
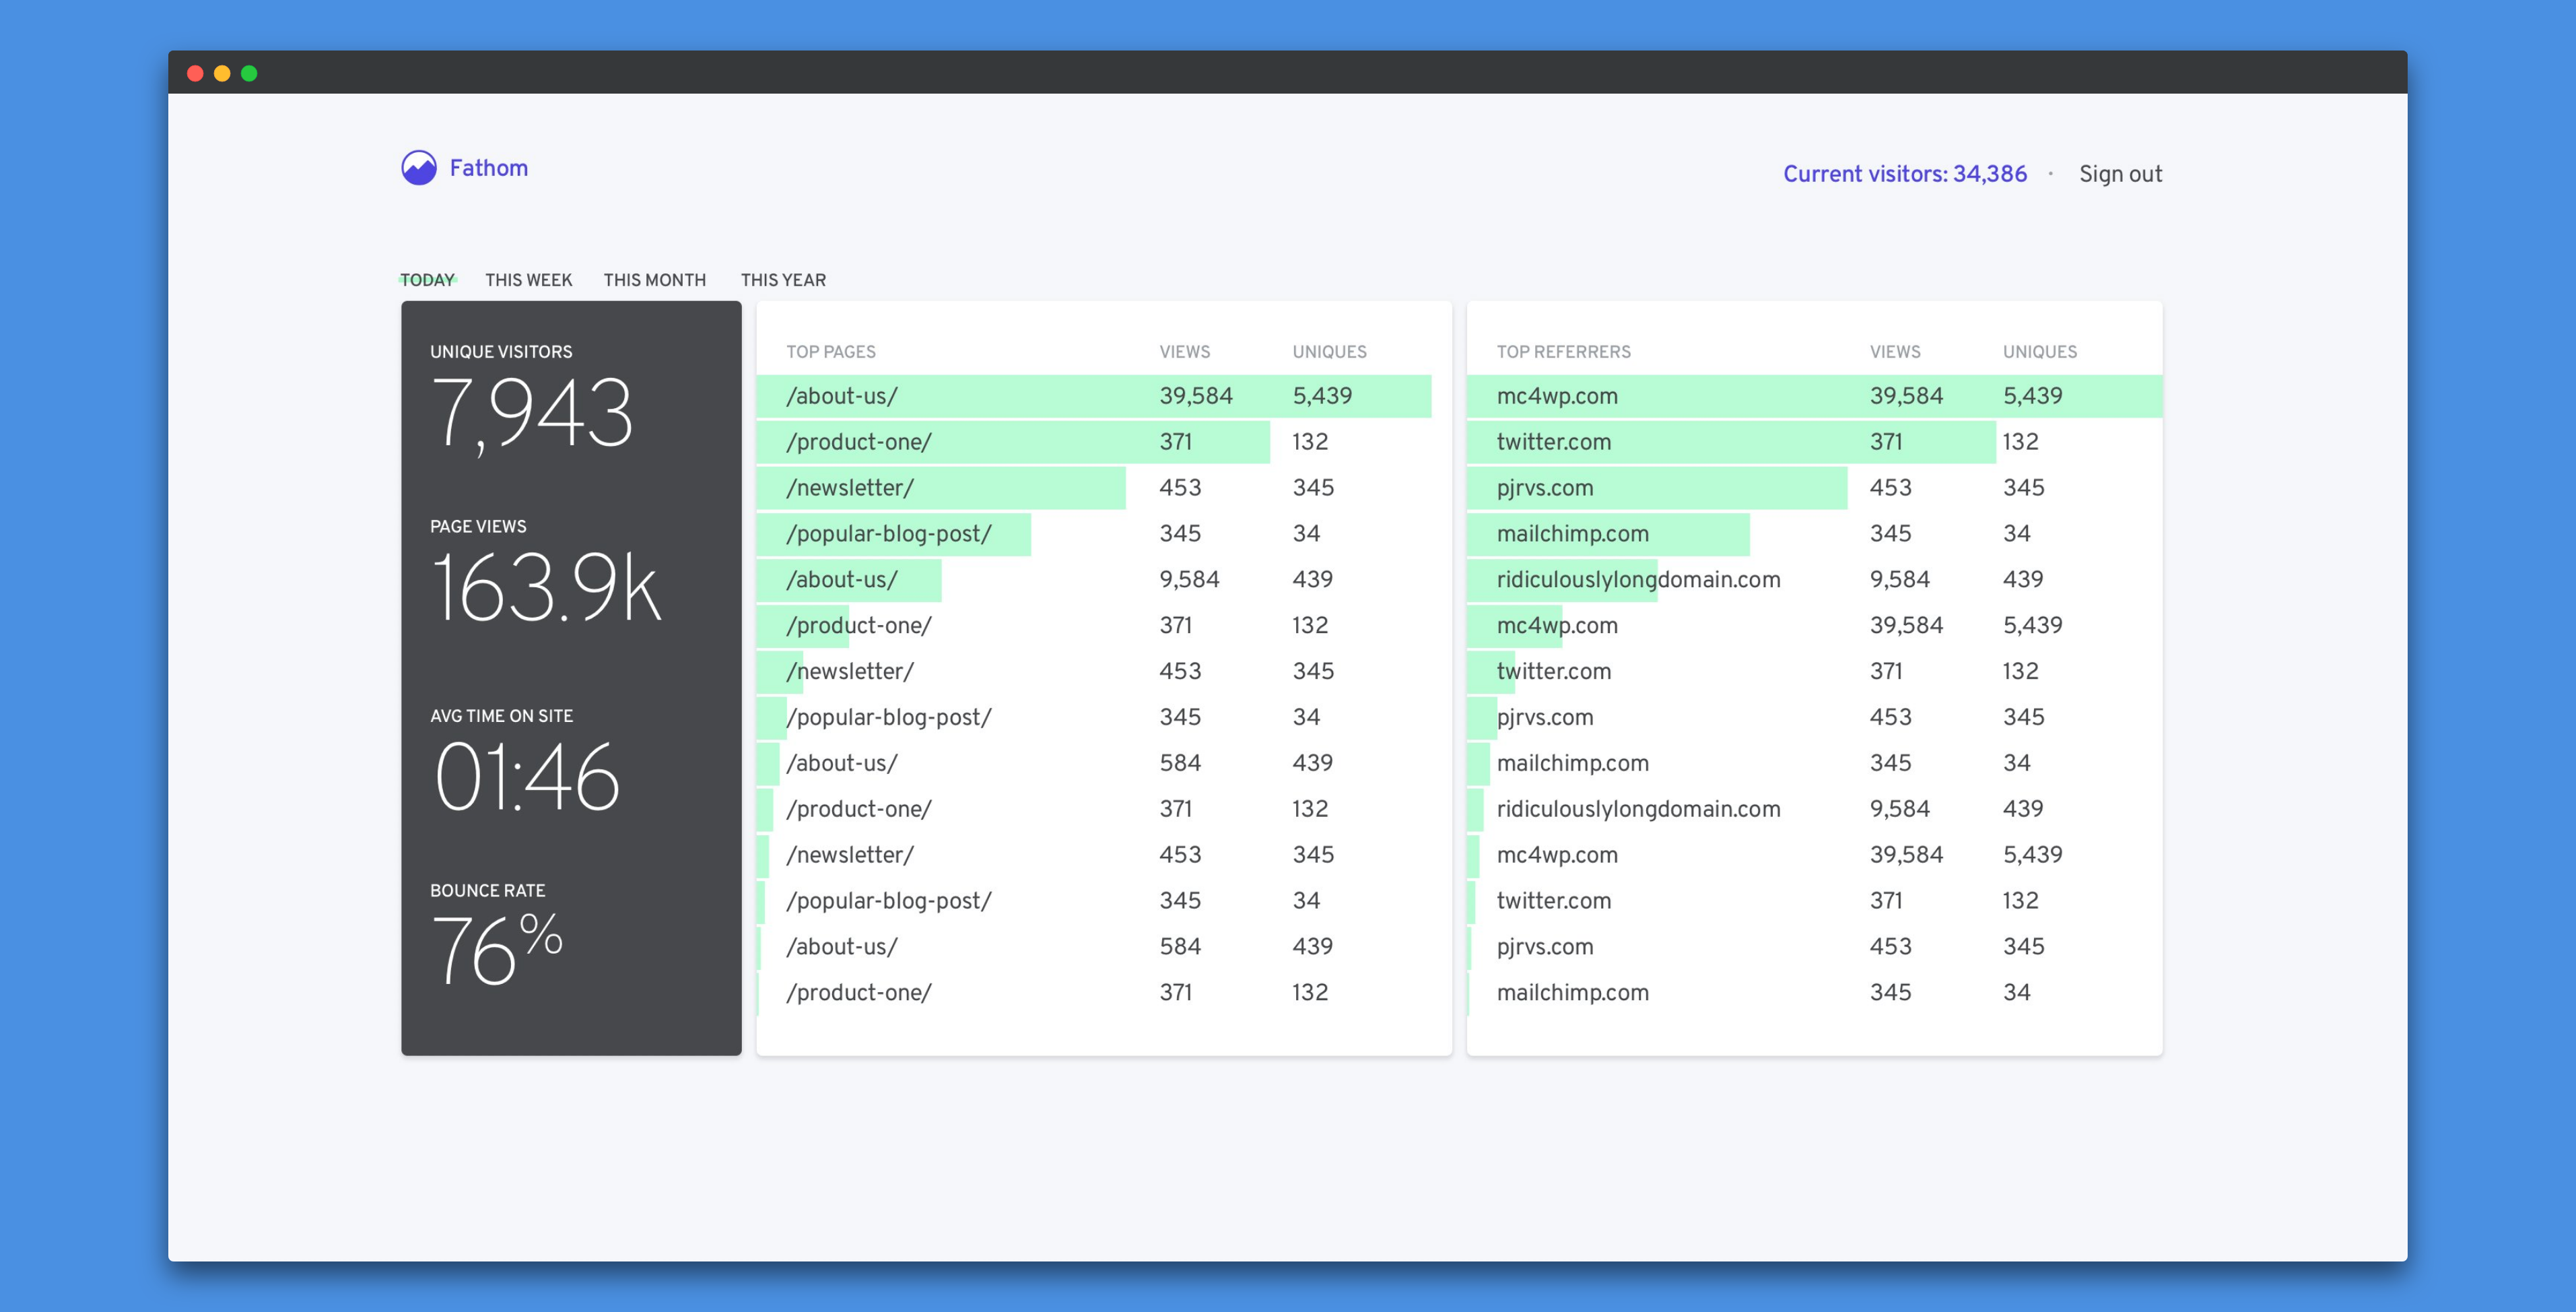
Installation and configuration
To start, we will see how Fathom works by running it locally on our machine with Docker. Then we will see how to use it on our own server.
Local installation
Running Fathom locally is very simple: just enter the following command:
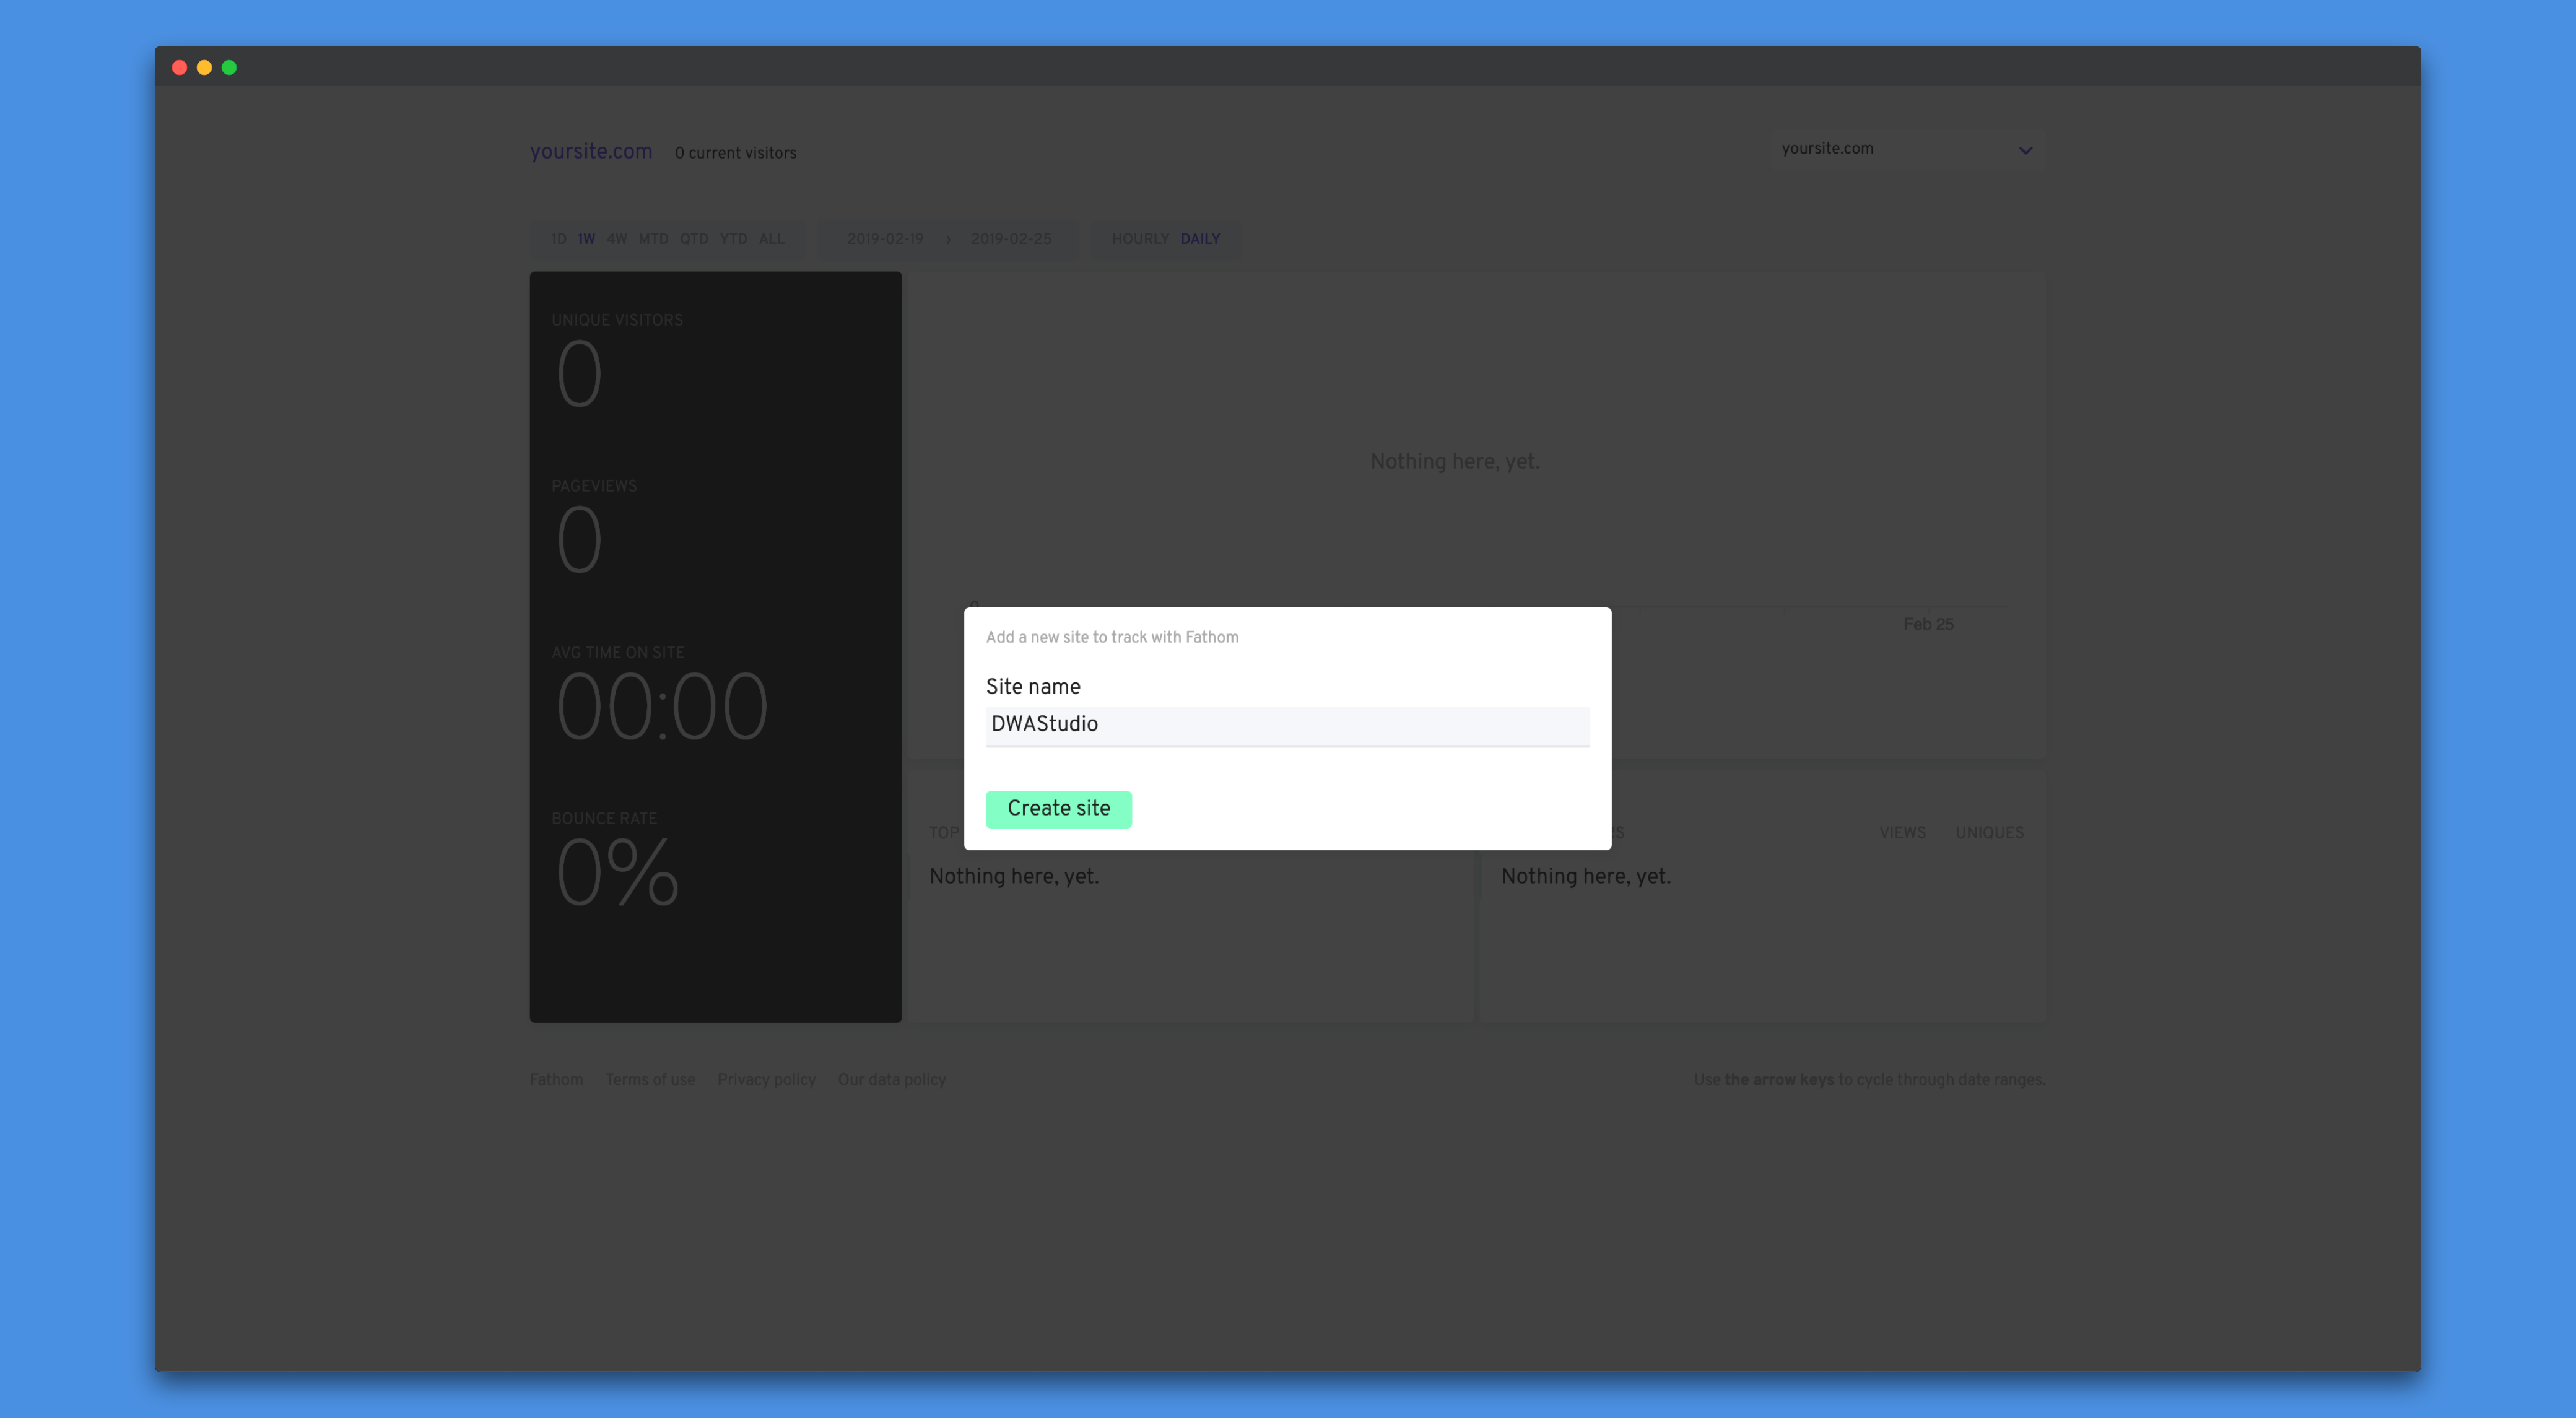
docker run -d -p 8080:8080 usefathom/fathom:latestThen, if you go to localhost:8080, you should see the following page. It lets you define your site name and then retrieve the tracking code to add to your site.
Creating an admin user
Once you have configured your site, meaning you have defined the name and retrieved the tracking code, you will notice that you can no longer edit your site information or add a new site. This is because, by default, once the Fathom dashboard has been configured, it is publicly accessible and therefore does not allow editing or adding another website.
If you want to restrict access to the dashboard or add several sites, you need to create an admin user.
To add a user, use the following command:
fathom user add --email="[email protected]" --password="strong-password"However, because we are using Docker, we need to run this command from our container.
First, retrieve the ID of our Fathom container:
docker ps
Once you have retrieved the container ID, run the following command, replacing [CONTAINER_ID] with your ID:
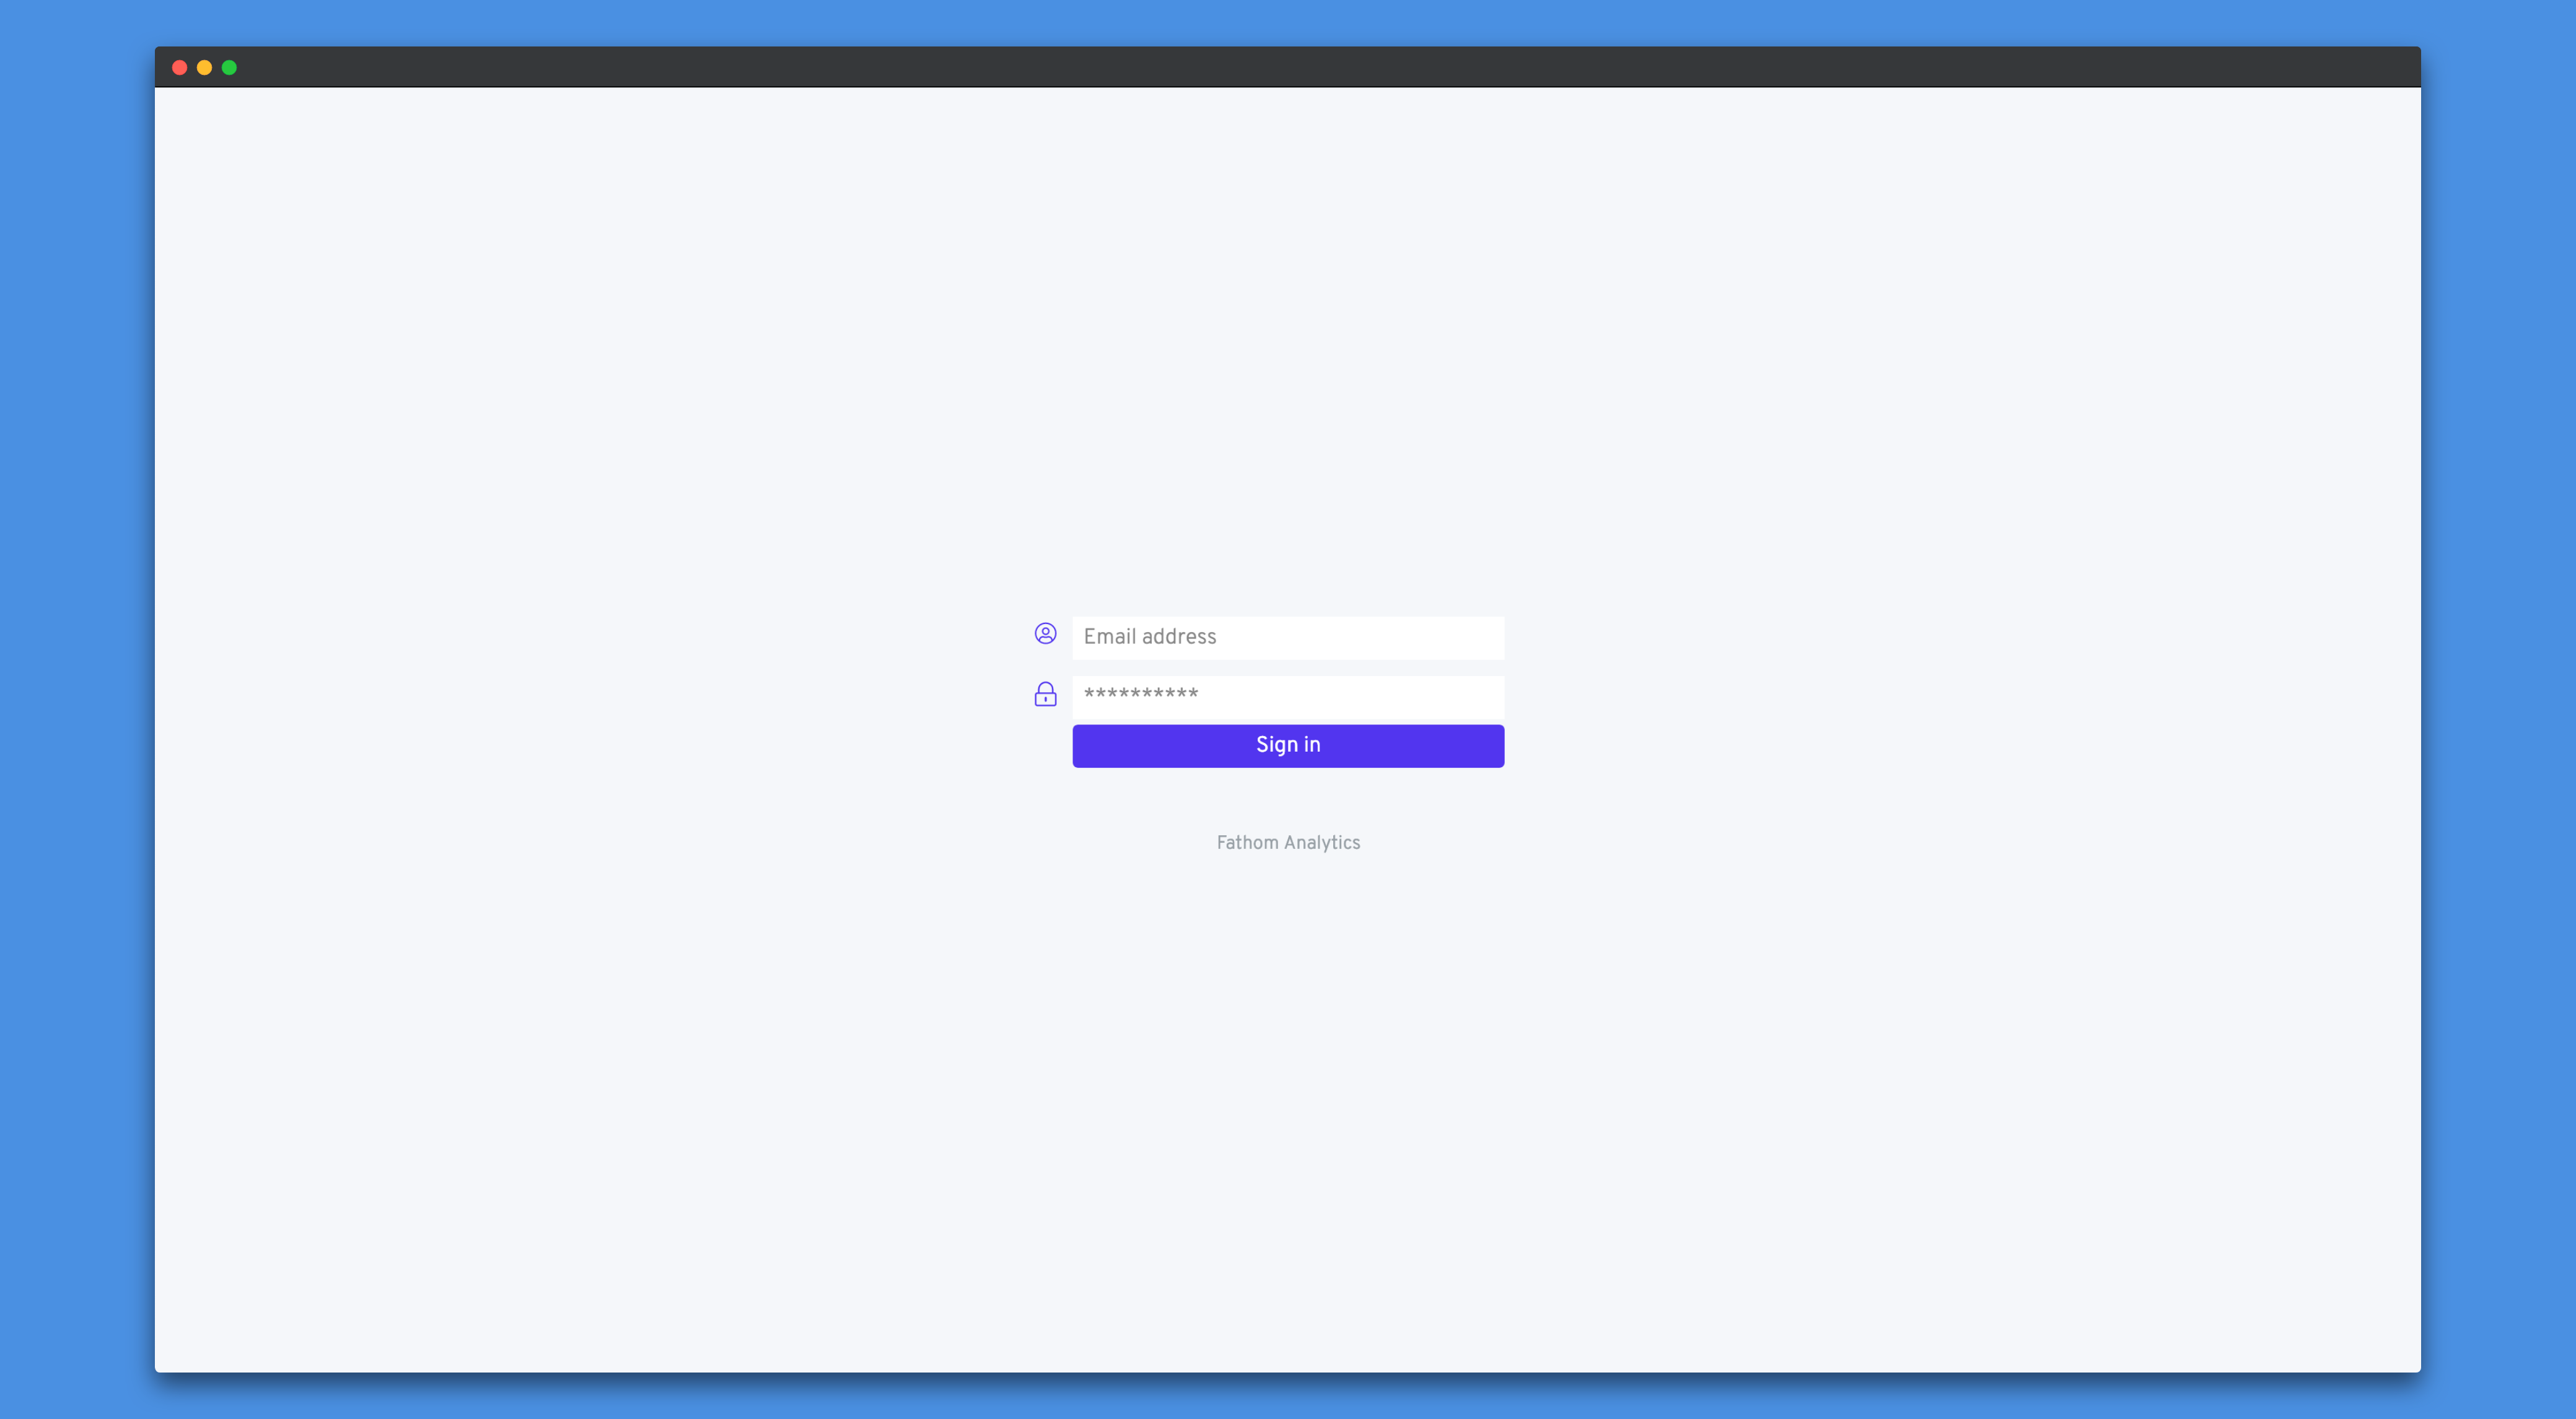
docker exec -it [CONTAINER_ID] ./fathom user add --email="[email protected]" --password="strong-password"Finally, if you refresh the page, you should see a page asking you to log in.
Configuration
Now that we have seen how to run Fathom and how to add a user, we will see how to modify the default configuration.
Here is the list of the different configuration values:
| Name | Default | Description |
|---|---|---|
| FATHOM_DEBUG | false | If true will write more log messages. |
| FATHOM_SERVER_ADDR | :8080 | The server address to listen on |
| FATHOM_GZIP | false | if true will HTTP content gzipped |
| FATHOM_DATABASE_DRIVER | sqlite3 | The database driver to use: mysql, postgres or sqlite3 |
| FATHOM_DATABASE_NAME | The name of the database to connect to (or path to database file if using sqlite3) | |
| FATHOM_DATABASE_USER | Database connection user | |
| FATHOM_DATABASE_PASSWORD | Database connection password | |
| FATHOM_DATABASE_HOST | Database connection host | |
| FATHOM_DATABASE_SSLMODE | For a list of valid values, look here for Postgres and here for MySQL | |
| FATHOM_DATABASE_URL | Can be used to specify the connection string for your database, as an alternative to the previous 5 settings. | |
| FATHOM_SECRET | Random string, used for signing session cookies |
To change the configuration, we have two possible methods:
- Specify the values as environment variables on our container.
- Create a fathom.env file with the different values, then tell Fathom to use our file.
For this example, we will only change Fathom's port using FATHOM_SERVER_ADDR.
Let's start by specifying the value as an environment variable.
In this case, we pass the environment variable using the -e option of the docker run command:
docker run -d -e FATHOM_SERVER_ADDR=3000 -p 8080:3000 usefathom/fathom:latestBecause we are changing Fathom's port here, remember to change our container port mapping with -p 8080:3000.
Now we will see the method with the fathom.env file. Create a fathom folder, then add a fathom.env file inside it:
mkdir fathom & cd fathom
touch fathom.env
In the fathom.env file, add the following value:
FATHOM_SERVER_ADDR=3000To finish, run the command:
docker run -v $(pwd)/fathom.env:/app/fathom.env -p 8080:3000 usefathom/fathom:latest /bin/bash -c "./fathom --config=./fathom.env server"Installation on a server with a domain and HTTPS
Now that we have seen the basics of how Fathom works and how to configure it, we will see how to install it on our server and make it accessible through a domain with HTTPS.
To do this, we will use Caddy Server (if you do not know Caddy, start here first) and docker-compose.
We will also use MySQL as the database for Fathom. Note that if you do not already have a MySQL database, you can absolutely stay with SQLite, even if your site has heavy traffic.
The domain used for the example will be data.example.com.
Start by creating a folder named analytics-srv:
mkdir analytics-srv && cd analytics-srvThen, in this folder, create a Caddy folder and a docker-compose.yml file:
mkdir Caddy && touch docker-compose.ymlIn the docker-compose.yml file, add the following configuration:
version: '3'
services:
  server:
    image: abiosoft/caddy
    container_name: caddy
    ports:
      - '80:80'
      - '443:443'
    volumes:
      - './Caddy/Caddyfile:/etc/Caddyfile'
      - './Caddy:/root/.caddy'
  fathom:
    image: usefathom/fathom:latest
    ports:
      - '8080:8080'
    environment:
      - 'FATHOM_SERVER_ADDR=:8080'
      - 'FATHOM_GZIP=true'
      - 'FATHOM_DEBUG=false'
      - 'FATHOM_DATABASE_DRIVER=mysql'
      - 'FATHOM_DATABASE_NAME=fathom'
      - 'FATHOM_DATABASE_USER=user'
      - 'FATHOM_DATABASE_PASSWORD=password'
      - 'FATHOM_DATABASE_HOST=mysql:3306'
      - 'FATHOM_SECRET=fathomsecret'
    links:
      - 'mysql:mysql'
    depends_on:
      - mysql
    restart: always
  mysql:
    image: 'mysql:5'
    volumes:
      - ./mysql-data:/var/lib/mysql
    ports:
      - '3306:3306'
    environment:
      - 'MYSQL_ALLOW_EMPTY_PASSWORD=false'
      - 'MYSQL_DATABASE=fathom'
      - 'MYSQL_PASSWORD=password'
      - 'MYSQL_ROOT_PASSWORD=rootpassword'
      - 'MYSQL_USER=user'
Replace the values of the FATHOM_DATABASE_USER, FATHOM_DATABASE_PASSWORD, FATHOM_SECRET, MYSQL_PASSWORD, MYSQL_ROOT_PASSWORD, MYSQL_USER variables with your own values.
To finish, add the Caddyfile file in the Caddy folder:
data.example.com {
  proxy /  fathom:8080
}
Then run the command:
docker-compose upNow all that remains is to decide whether you want to leave dashboard access public or add a user, as we saw earlier. Finally, add the tracking code to your site.